How do you handle weapons more consistently?
Slow the sequence down: select the intended weapon, confirm it visually, aim, fire only when ready, then release aim or return behind cover before the next action. Consistency comes from knowing your current state. The official controls support this routine, while the timing and practice method are editorial advice.
Learn the handling chain in order
The official description gives the input pieces but does not prescribe a handling technique. A practical order is selection, visual confirmation, aim, fire, and reset. This keeps a wrong weapon selection from turning into a second mistake and makes it easier to tell whether the problem came from movement, view, or input.
Crouching and leaning belong around that chain, not inside every shot by default. Use C when you intend to change stance. Use Q or E when the corresponding side of cover makes sense. No official source used here says those actions improve accuracy, reduce recoil, or guarantee protection.
| Stage | Confirmed input | Player check |
|---|---|---|
| Select | Number keys | Is the intended item visibly active? |
| Aim | M2 | Can you read the target and nearby space? |
| Fire | M1 | Did you press deliberately rather than during a mistaken swap? |
| Change stance | C | Do you know whether you are crouched or standing? |
| Use cover | Q / E | Are you leaning toward the correct open side? |
Use a repeatable handling loop
Practice this loop during a quiet part of the FFA test. It is intentionally simple, and it avoids invented timing targets. Clean repetition is more useful than rushing toward a number that the game does not officially define.
- Stand behind a clear piece of cover and identify which side you plan to use.
- Choose the intended number key and confirm the selected weapon on screen.
- Press Q or E for the side you chose, then aim with M2 only after the view is stable.
- Use M1 deliberately, release aim when appropriate, and return from the lean.
- Reset to a known stance, check your surroundings, and repeat from the other side.
- Add C only after the standing sequence feels reliable, so you can identify what changed.
Make the sight picture part of handling
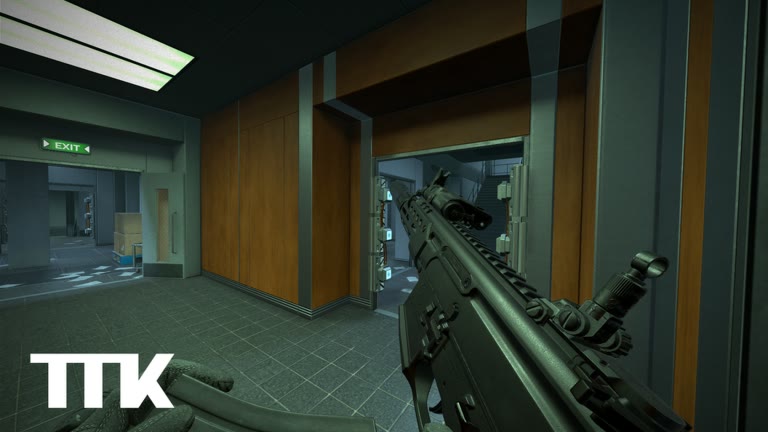
Weapon handling is not only key presses. You need to see enough of the scene to know when to aim, when to stop, and whether another angle is opening. The confirmed Transparent Optics setting exists to simulate aiming with both eyes open for better sight visibility. Compare it with the normal view if the optic housing distracts you.
Do not treat transparency as a hidden performance upgrade. Test it as a visual option, using the same position and target. Keep the setting that lets you read the center and surrounding space with less confusion on your actual device.
- Confirm selection before aiming.
- Check the area around the sight, not only its center.
- Return from a lean before changing several other inputs.
- Change one setting at a time when diagnosing a visibility problem.
Fix the error you actually made
When a sequence fails, name the failure before repeating it. If you selected the wrong item, slow down the number-key step. If you leaned the wrong way, return to neutral and identify the exposed side. If the sight picture was crowded, compare Transparent Optics. If you forgot your stance, practice C separately.
This error-by-error approach remains useful while the test evolves because it depends on confirmed actions rather than fragile weapon statistics. Planned Survival, Missions, Quick Play, Ground War, co-op PVE, and team PVP may eventually create new handling situations, but they should remain labeled as plans until they are playable and officially described as live.