Is there a new map in TTK Testing?
The current official title is TTK Testing [MAP VOTING], which confirms the map-voting focus. It does not identify a particular new map or provide a reliable rotation. Check the current in-game vote and loading screen for the live options, then use this page to learn whichever layout appears.
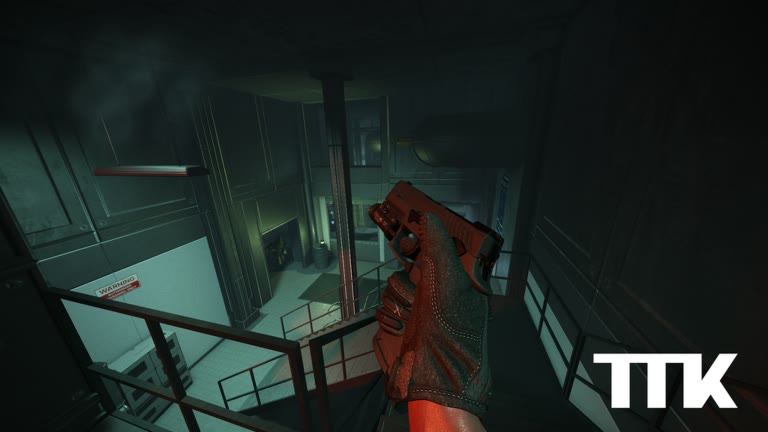
Use the first life for orientation
Your first goal is not to find every opponent. It is to understand where you are. Look for a landmark that can be recognized from more than one direction, then connect your starting area to it with the simplest route available. If the route crosses open ground, identify the last safe cover before you move.
Because the current build is public FFA testing with up to eight players, an empty lane can become dangerous quickly. Pause long enough to check side entrances, but do not remain in one exposed observation point. A useful first life produces a route you can repeat, even if it does not produce a strong score.
- Choose a landmark that is easy to identify from different angles.
- Trace one direct route from the starting area to that landmark.
- Count the side openings that can see the route without inventing a fixed spawn pattern.
- Find one hard-cover position and one exit near the landmark.
- On the next life, repeat the route and test a single alternative turn.
Turn each fight into a map note
After a fight, ask where contact started rather than focusing only on the result. Did the other player appear from a doorway, a long lane, a side opening, or behind the route you had just cleared? That answer tells you which angle deserves attention next time.
Use Q or E to inspect from suitable cover and C when a lower profile genuinely changes what is exposed. These are confirmed controls, not a promise that every object supports a safe lean. If an angle still leaves your body open from another direction, relocate instead of repeatedly testing the same bad position.
| Observation | Likely lesson | Next action |
|---|---|---|
| Contact arrived from the side | The route has an unchecked entrance | Stop at earlier cover and clear that entrance |
| You were seen while crossing | The crossing lacks protection | Find a shorter crossing or wait for a safer moment |
| Several fights started at one junction | The junction is a common meeting point | Approach it aimed and leave after contact |
| You became lost after retreating | The route lacks a clear fallback landmark | Choose a visible reference behind your position |
What to learn in the second match
Once you can reach the same landmark twice, add one alternative route and compare them. The better route is not automatically the shortest. It is the one that gives you readable angles, usable cover, and a way to disengage when another player enters from behind.
Keep the test simple by using the same general setup while comparing routes. Changing equipment, settings, and movement at the same time makes the map harder to read. If sight visibility is the problem, compare Transparent Optics separately; the setting is officially named, but the best choice depends on what you can see clearly.
- Know one landmark, one safe cover point, and one fallback route.
- Learn where fights repeat without calling those positions guaranteed spawns.
- Compare two routes under similar conditions.
- Check the live vote again rather than relying on an old map list.